Create and populate your first group
Step-by-step guide to creating and populating a supporter group
Permissions
Only admins can create supporter groups. Captains and vice-captains can help manage them once set up.
Part 1: Creating a new group
Start the group wizard
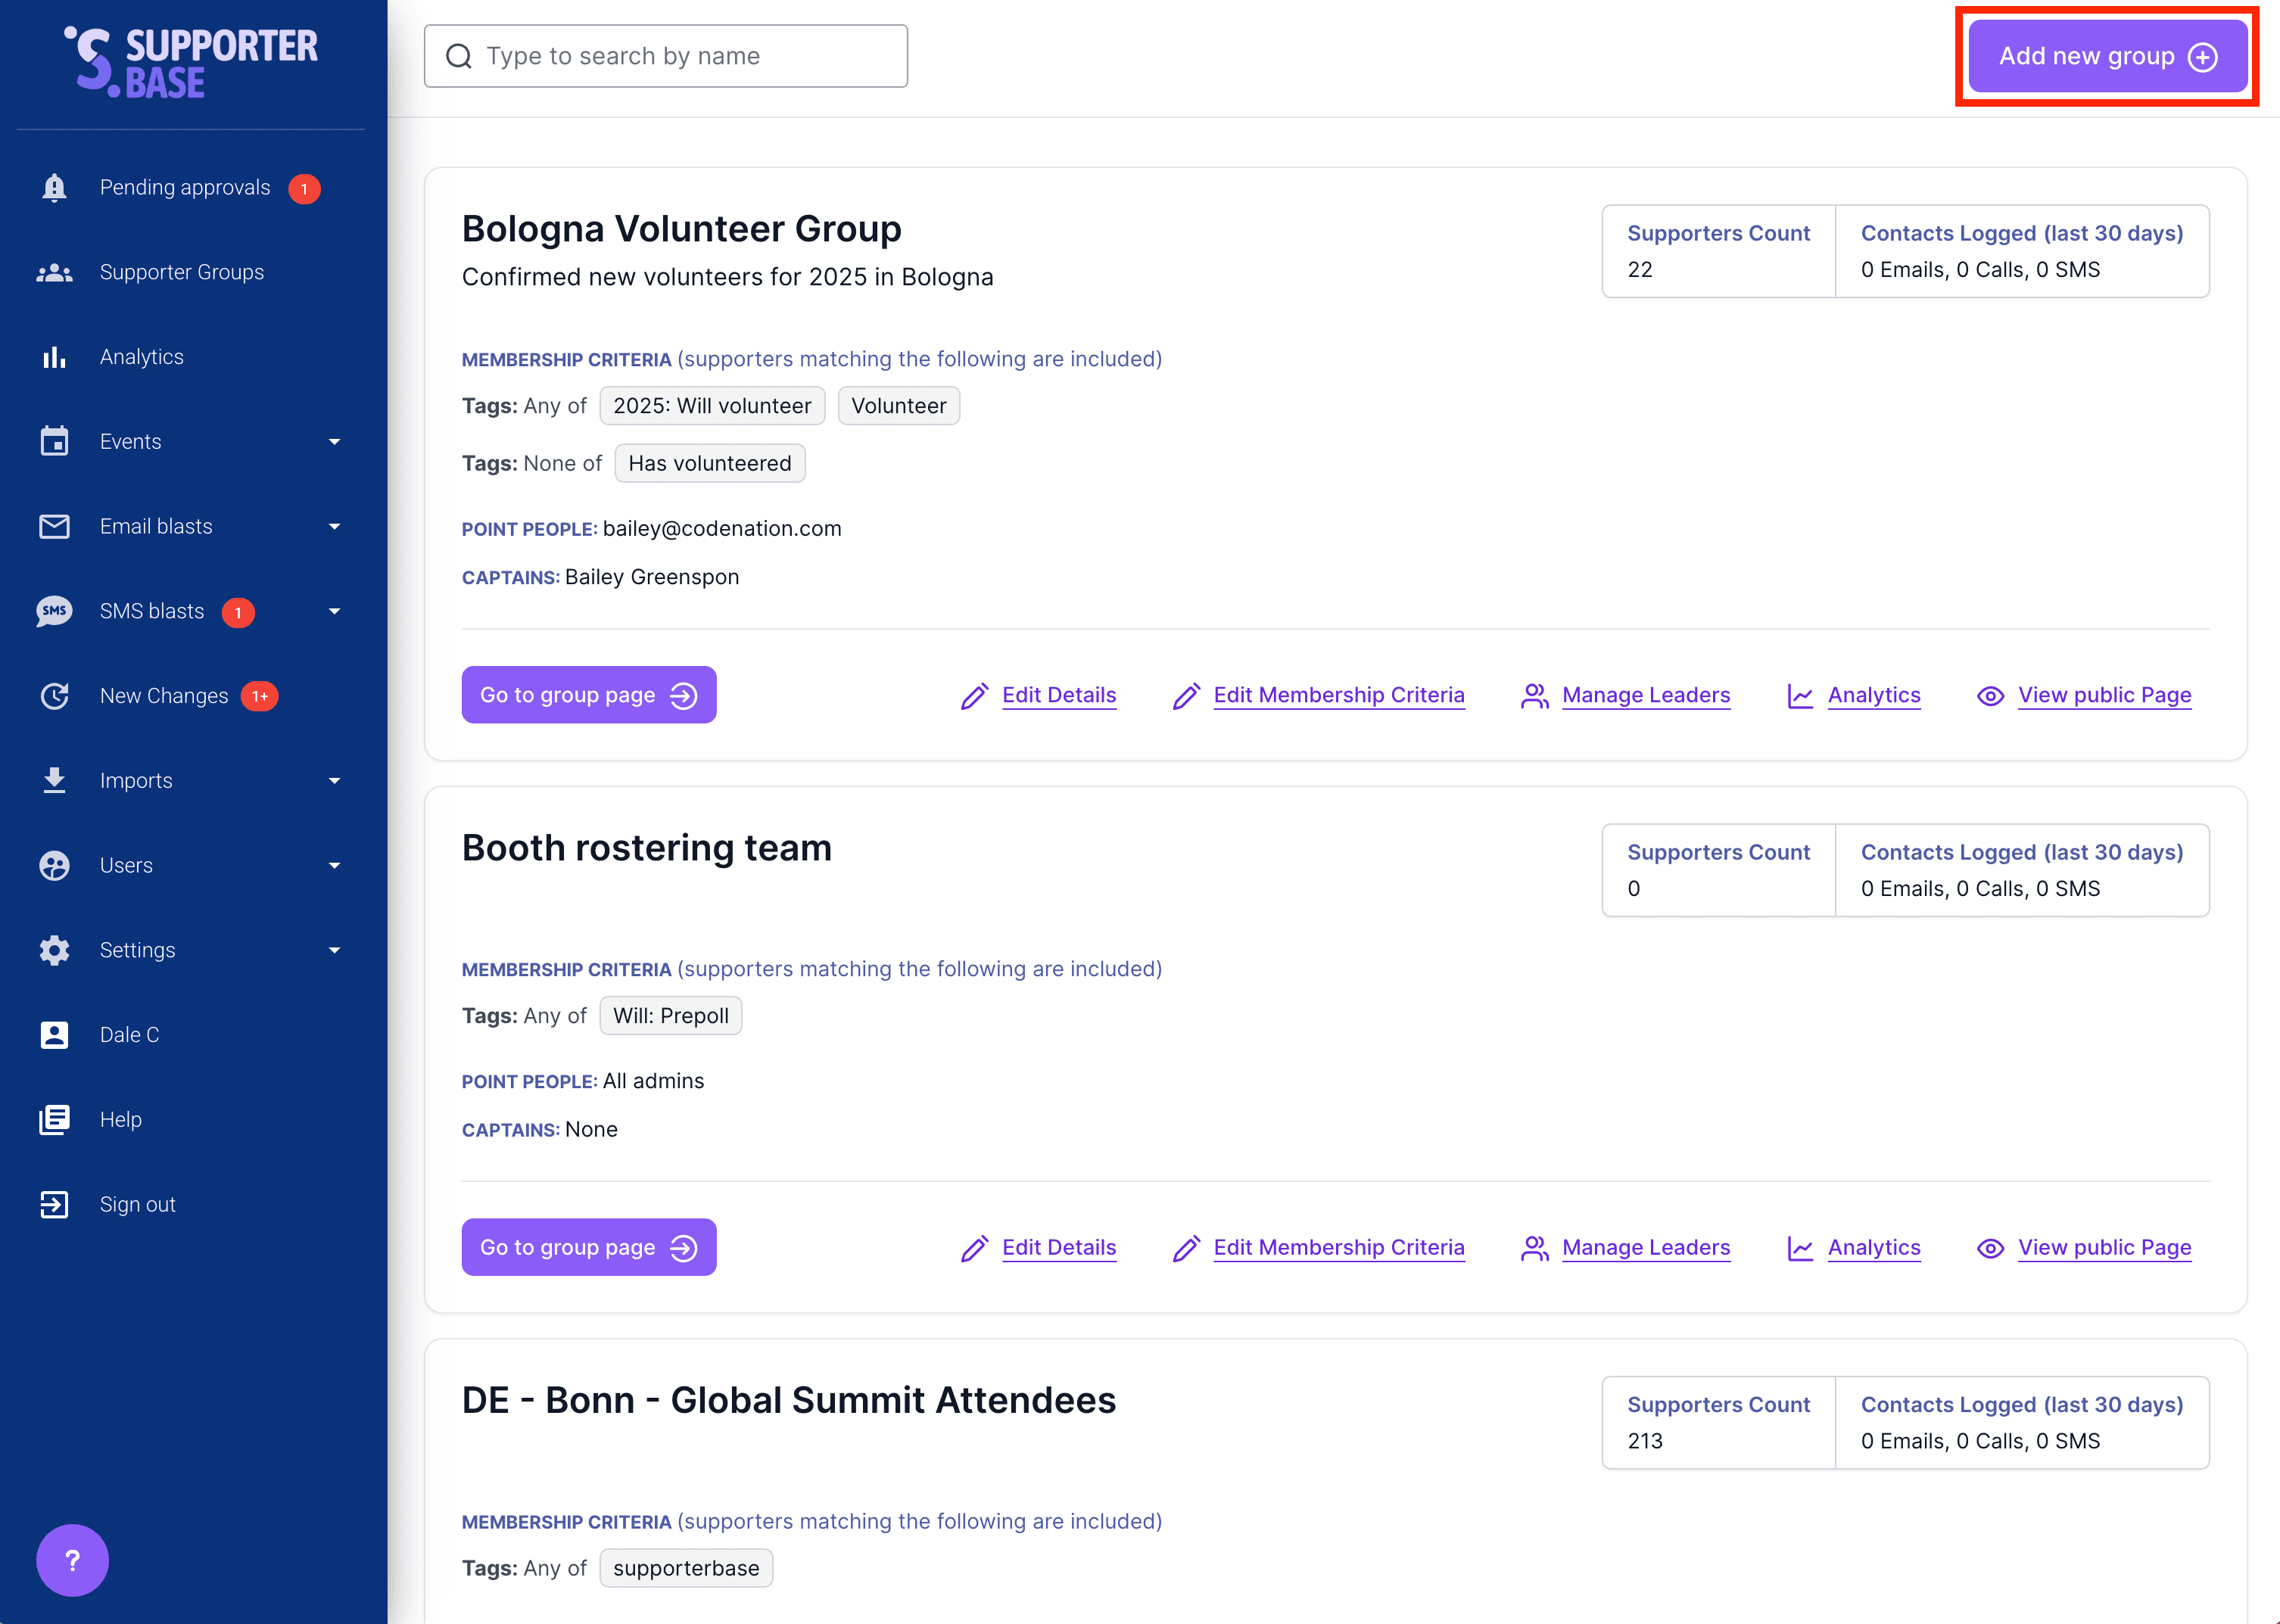
On the Groups page, click Add Supporter Group (top right). The group creation wizard will open (3 steps).
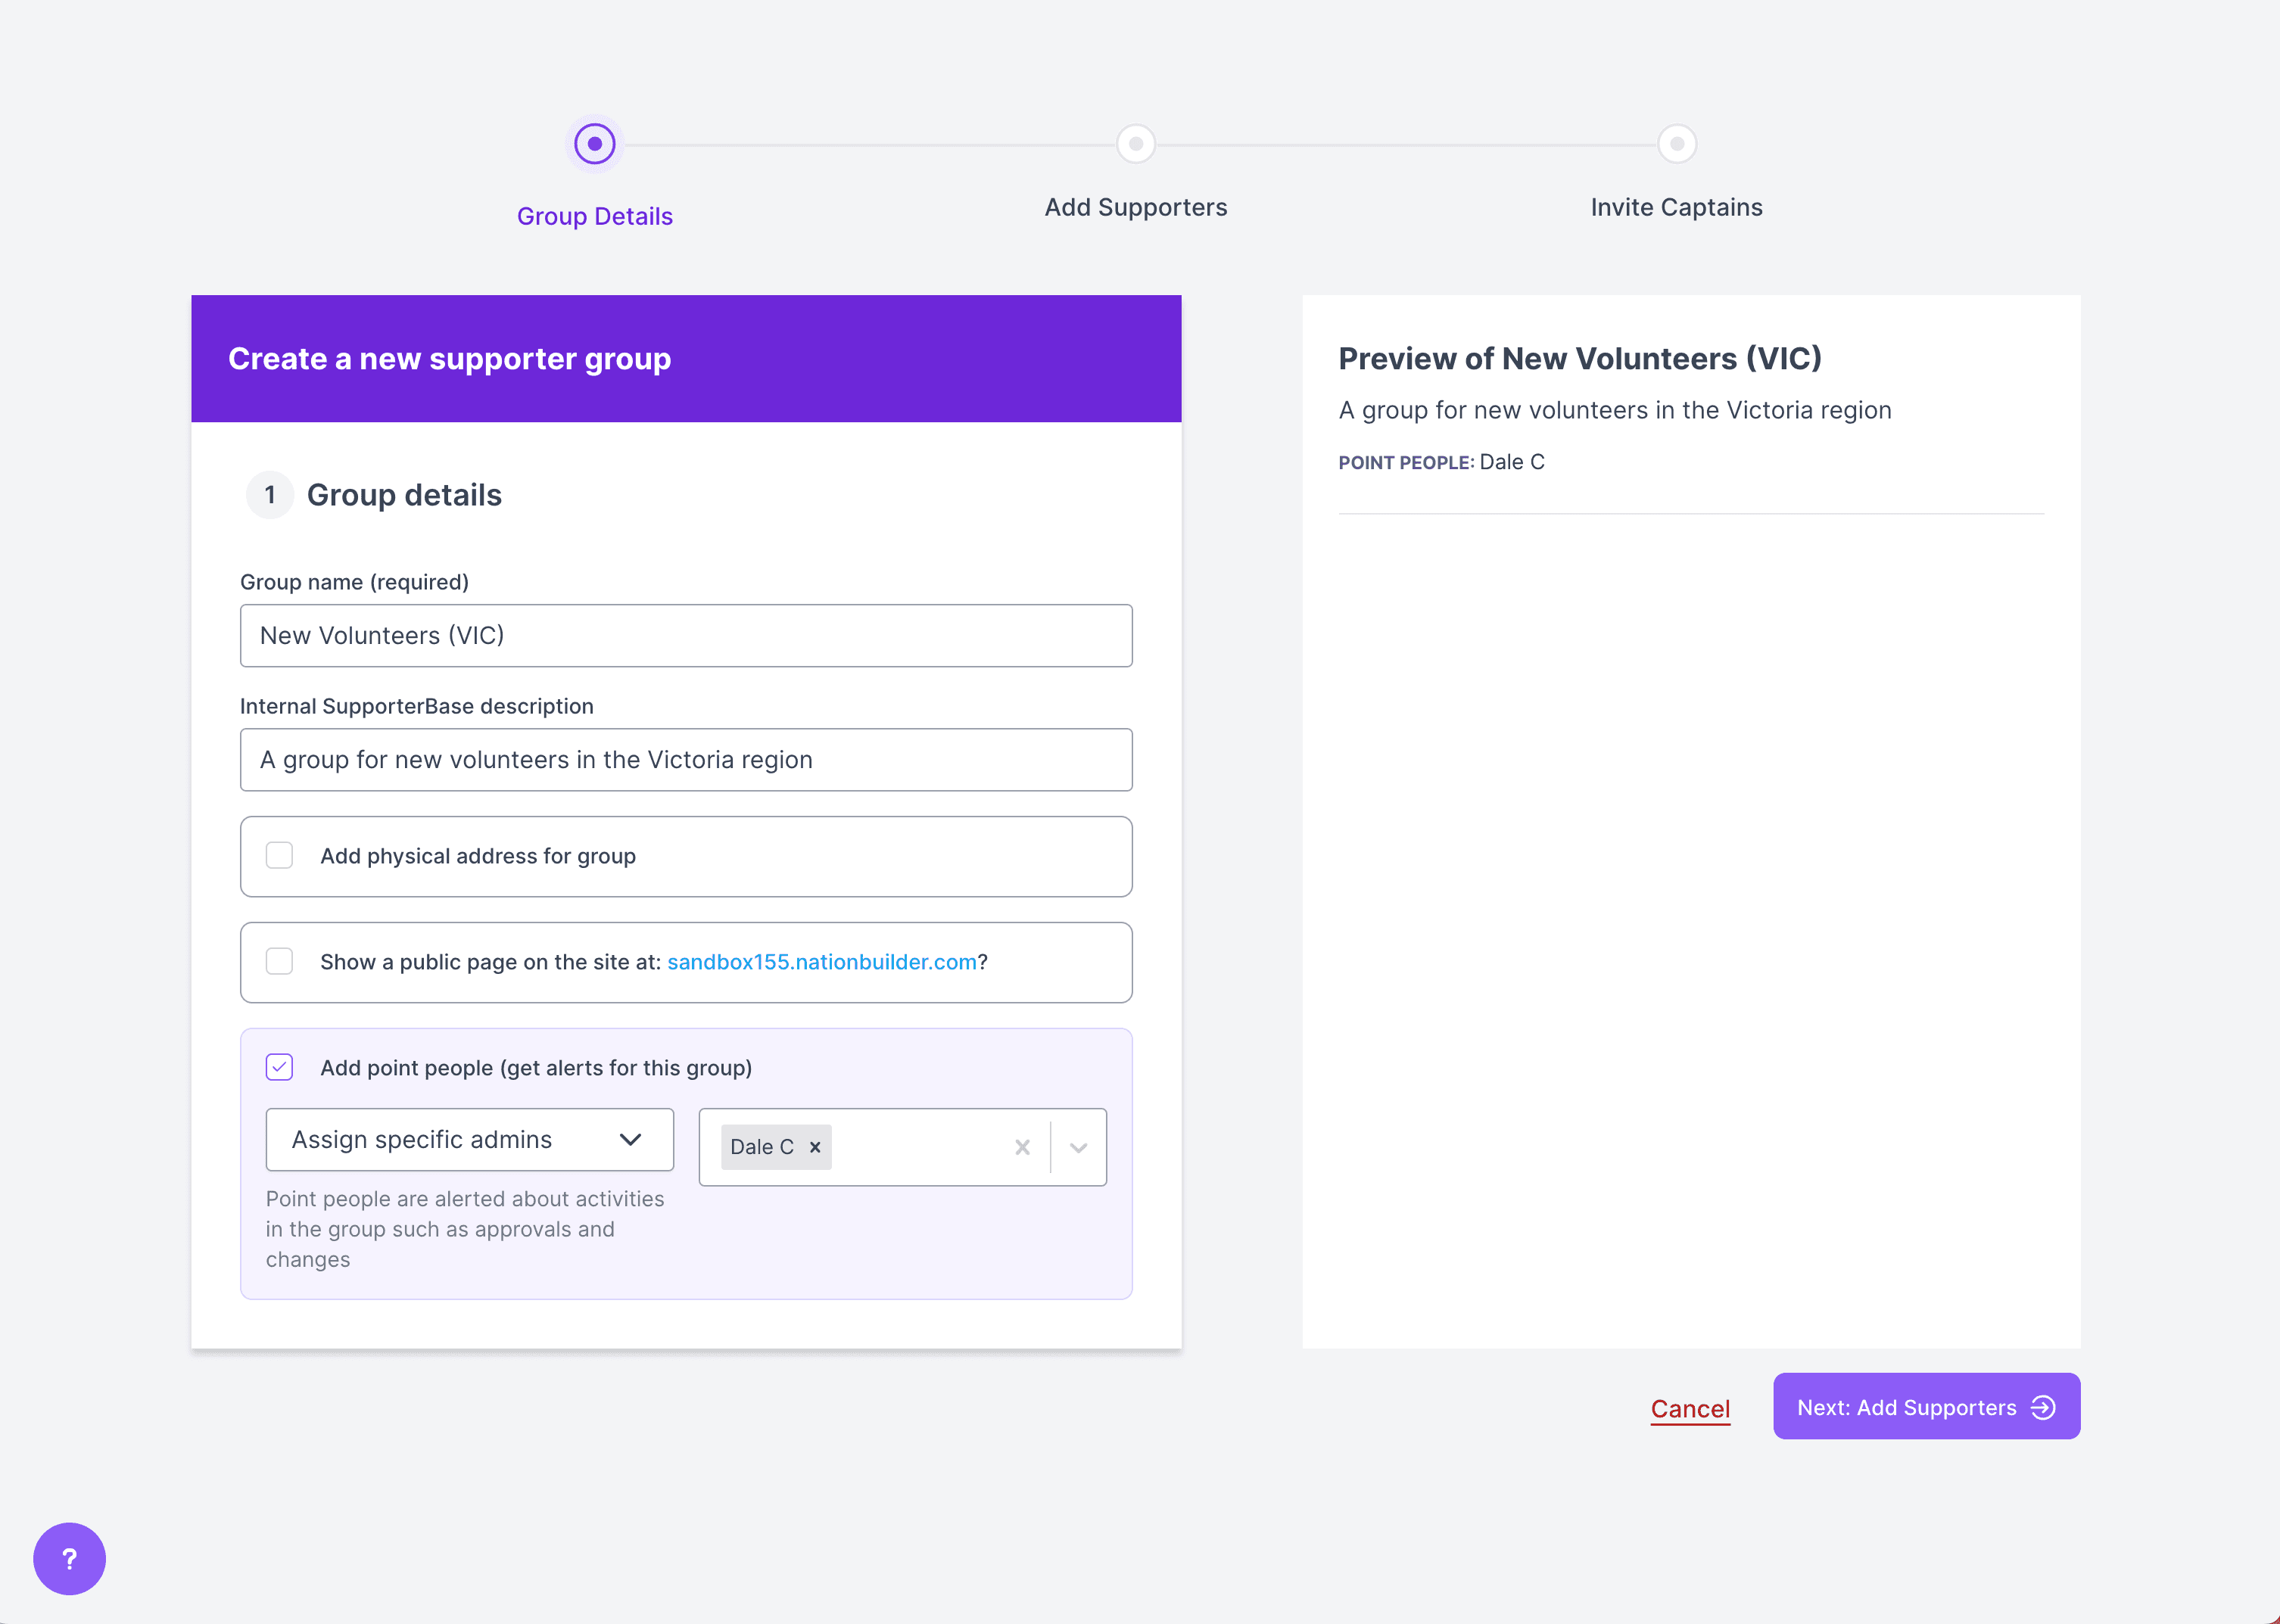
Enter group details
- Enter the Group Name.
- (Optional) Add a description (visible to users in SupporterBase).
- (Optional) Add a physical address.
- Choose whether to create a public page on your organisation/campaign site so supporters can sign up online.
- Add admins as point people (they will be the only admins to receive notifications for this group).
- Click Next: Add Supporters.
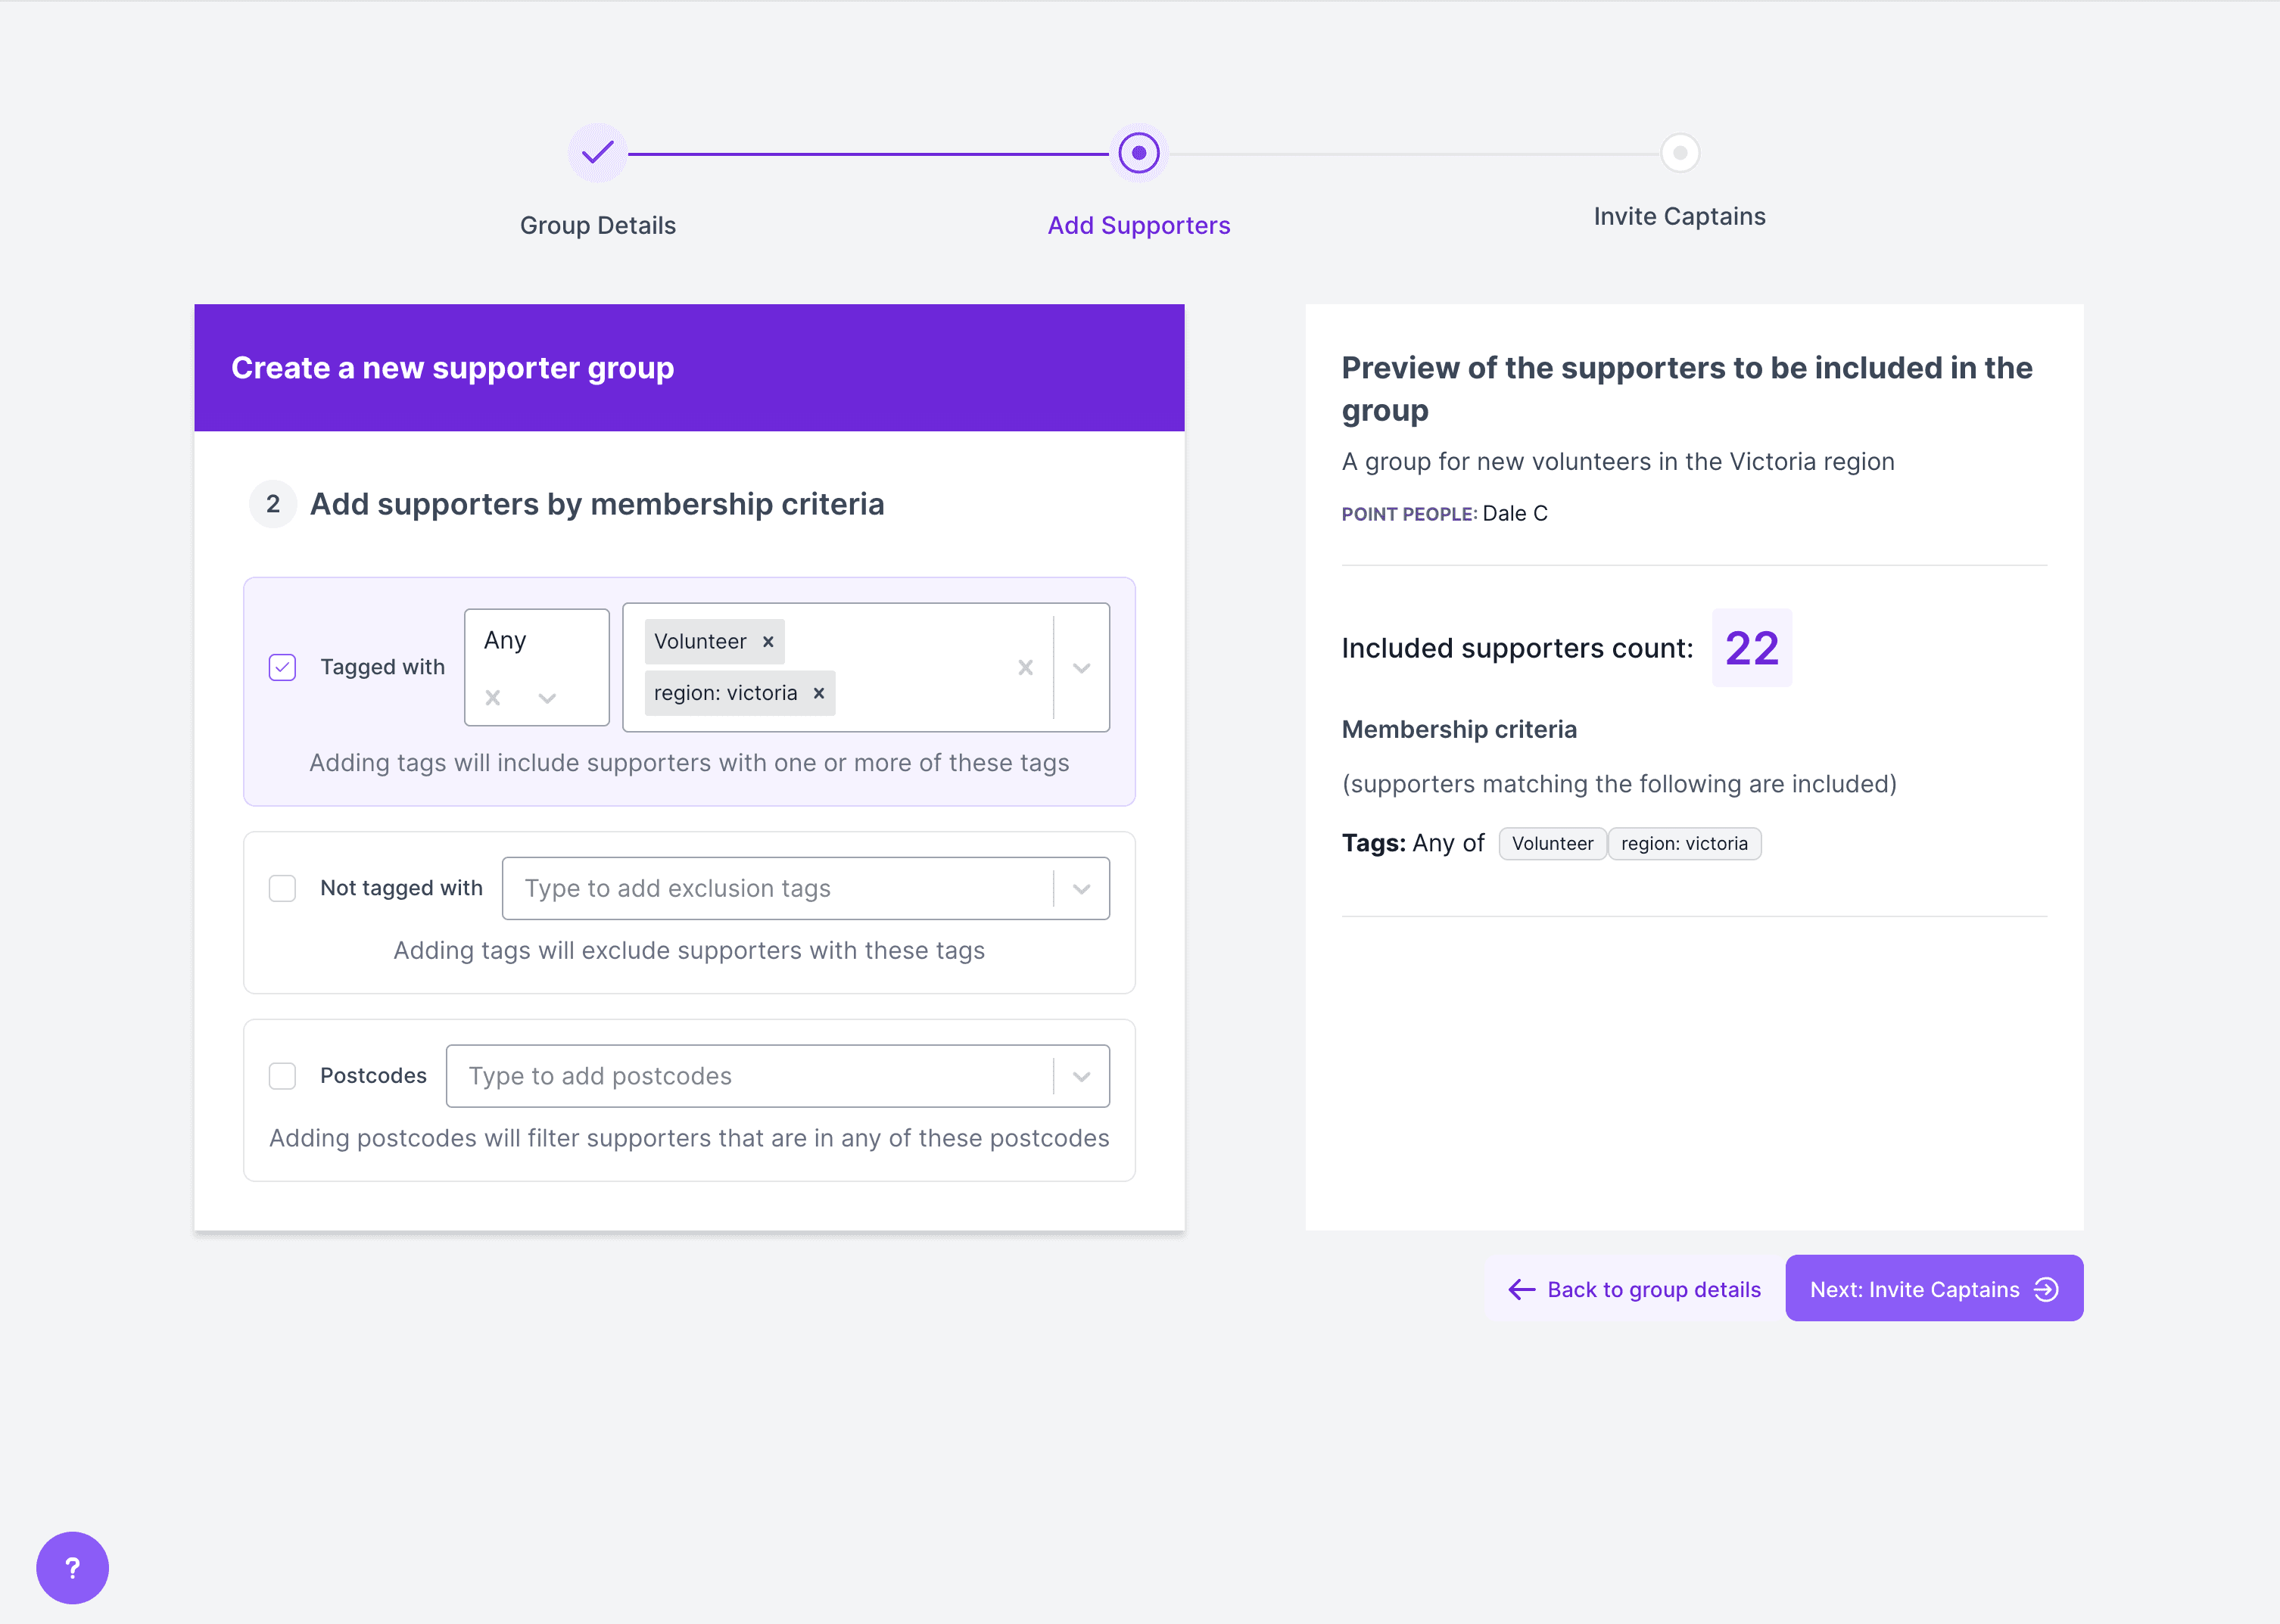
Add supporters
- Add supporters by inclusion or exclusion tags and/or by postcode.
- The supporter count updates in real time (left side).
- Use the filter logic (any vs all tags) to fine-tune.
- Click Next: Invite Captains.
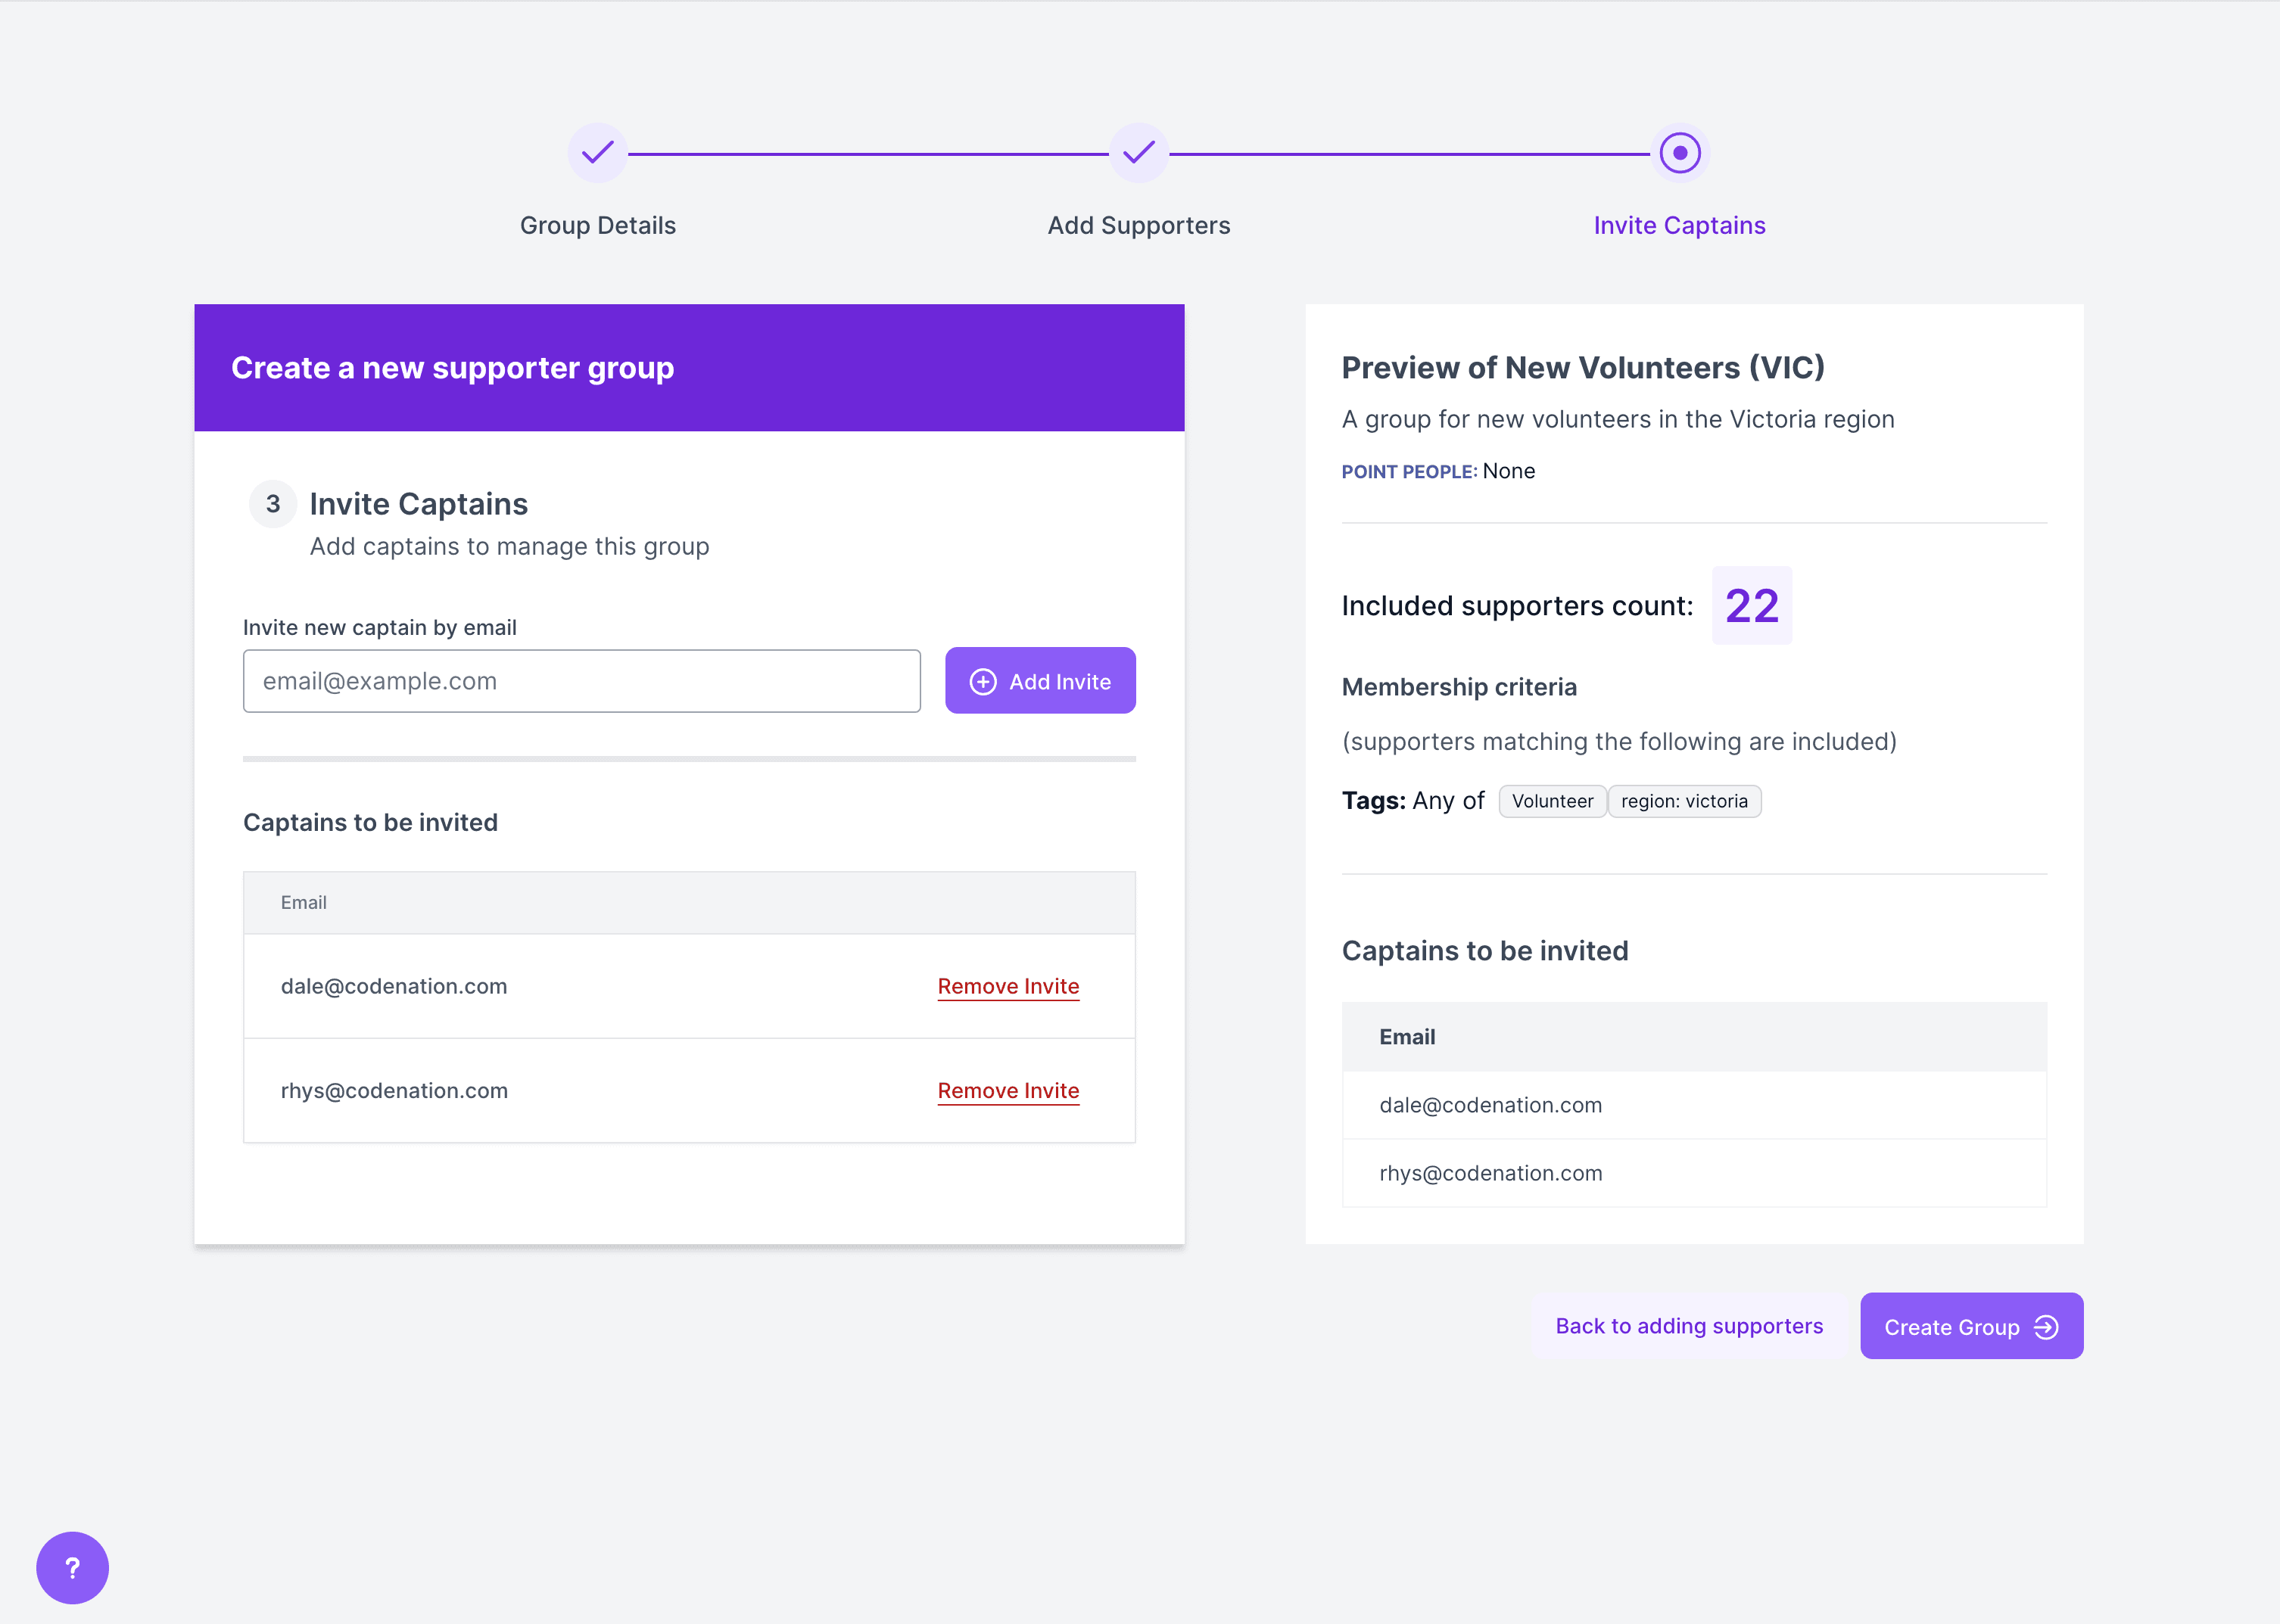
Invite captains
- Enter the email addresses of captains to manage the group.
- Or leave blank and add captains later.
- Click Create Group.
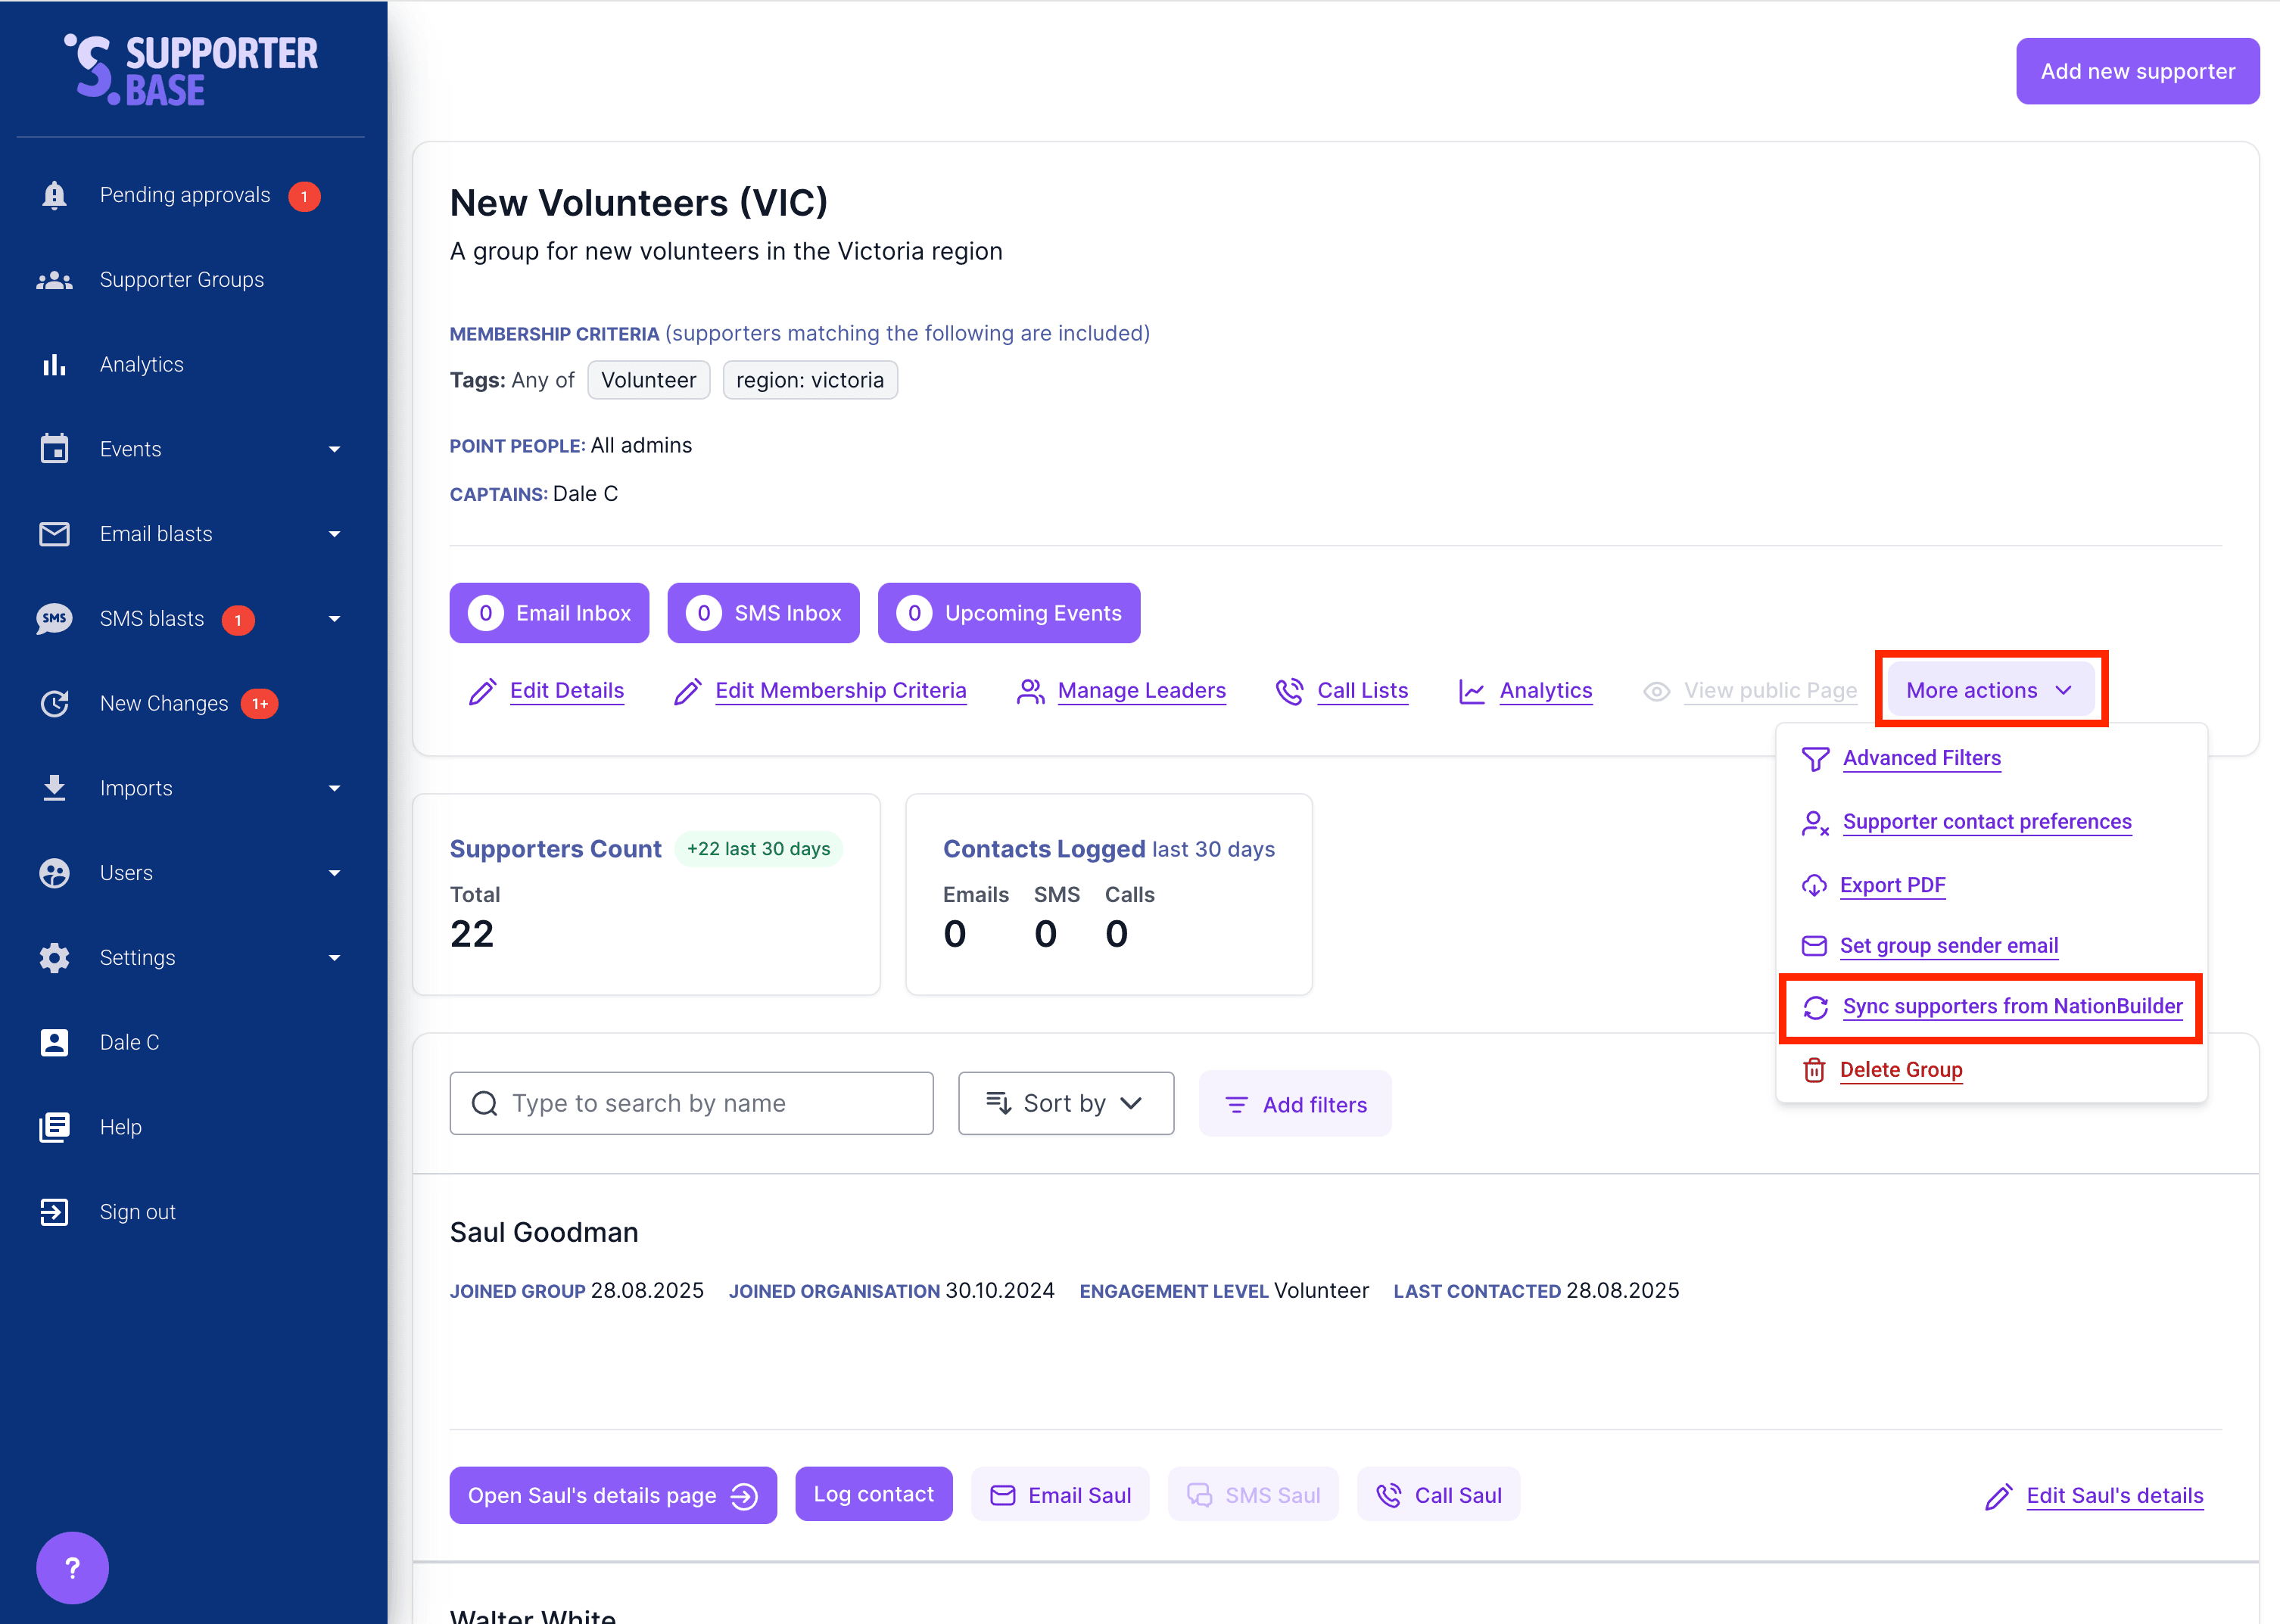
Wait for the sync process
Once created, SupporterBase begins syncing supporters via NationBuilder.
- Wait for the background process to run. You should see supporters appear within ~1 hour (often sooner).
- Or manually trigger by selecting the Sync People from NationBuilder button (top of group page).
Learn more in our Group Management guide.
Part 2: Populating a group
You can add supporters via NationBuilder tags, the SupporterBase interface, or imports.
Option A: Add via NationBuilder tags
Admins with NationBuilder access can apply the correct tags.
To sync into SupporterBase, each supporter needs both:
- The master
supporterbasetag (all lowercase). - The relevant group tag.
See NationBuilder's guide to tags for more detail.
Option B: Add via SupporterBase interface
Bulk import (CSV):
Follow our Import New Supporters guide.
One by one:
- Go to your group's summary page.
- Click Add New Supporter (top right). You can also find this via the left-hand nav: Supporter Groups, then Add New Supporter.
- In the pop-up form, search to see if the supporter already exists. If not, scroll to Enter full member details and complete their info.
- Tick the consent box (check your organisation's policies).
- Click Add Supporter.
Minimum data requirements
For a supporter to sync into SupporterBase, they must meet all of the following:
| Requirement | Detail |
|---|---|
| Tags | Have both the supporterbase master tag and the correct group tag(s) |
| Contact info | Have either a valid phone number or email |
| Name | Have either a first name or last name |
| Subscription | Not be unsubscribed from contact |
| Characters | Contain only standard characters (no unusual symbols) |
Learn more about importing supporters in our Import New Supporters guide.