Explanations
Domain Settings
Configure custom domains for email and reply handling
Admins can configure which domain is used for outgoing SupporterBase emails and how replies are processed.
Where to find domain settings
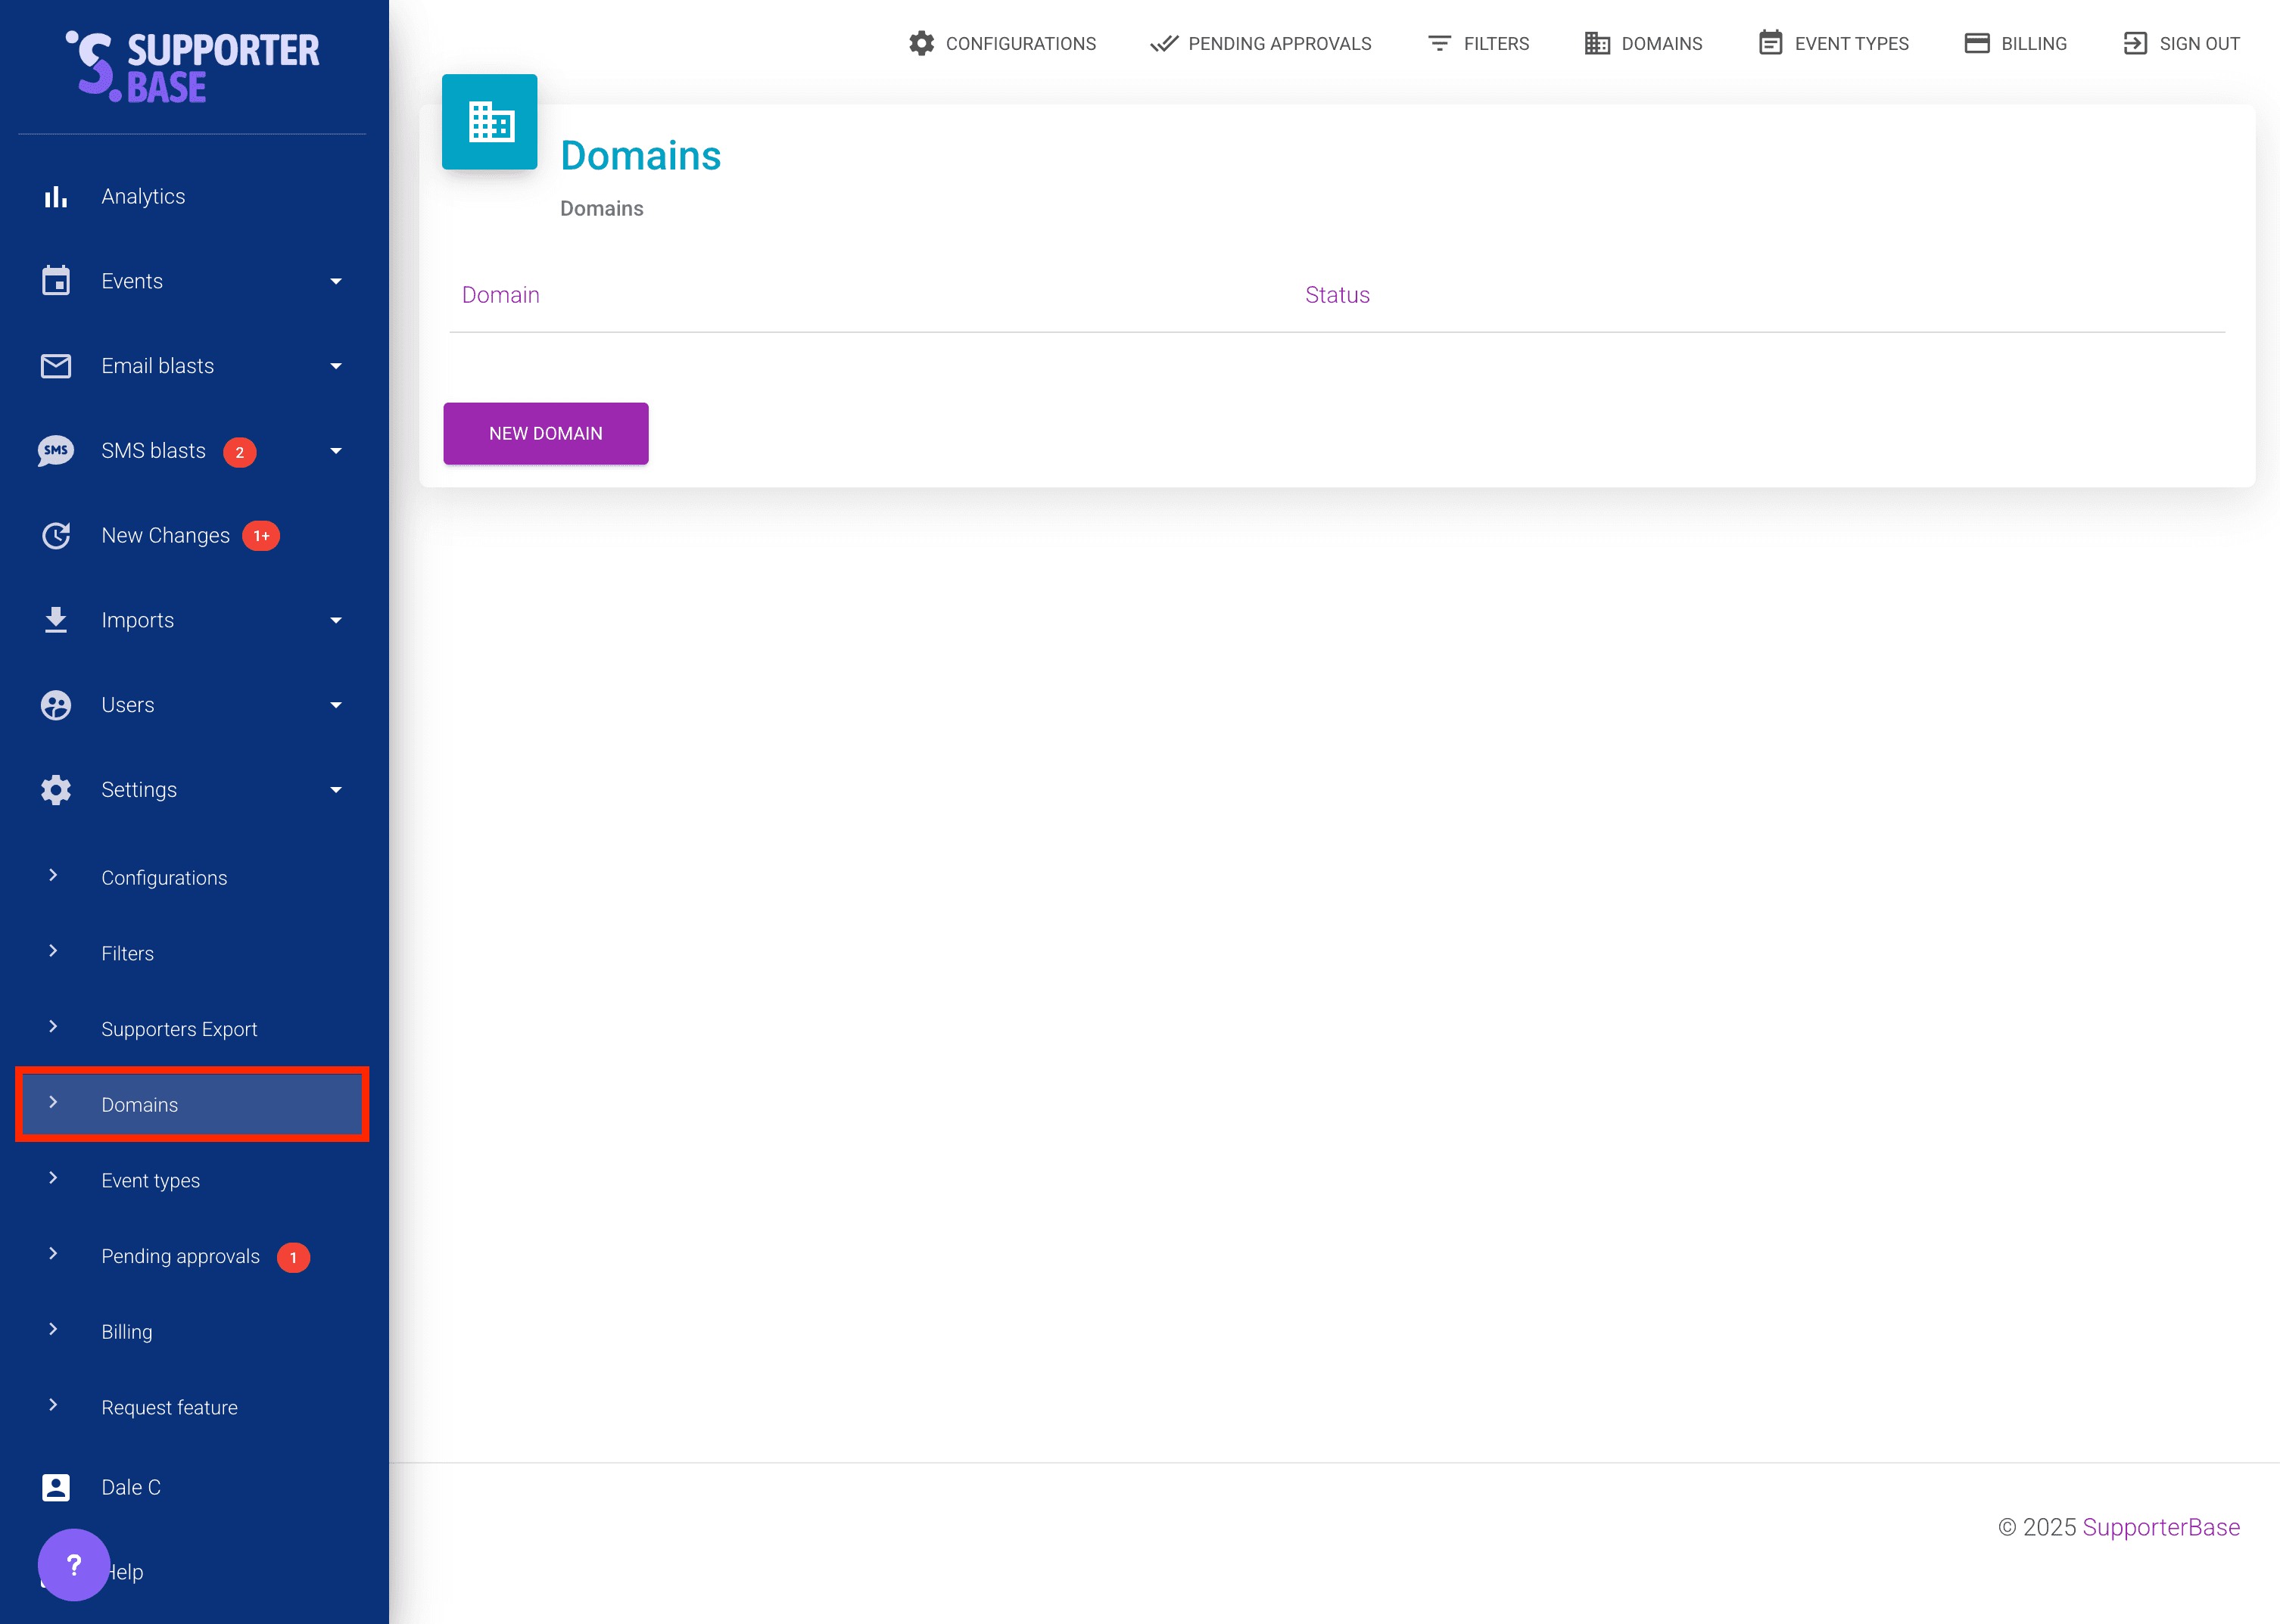
- From the left-hand menu, go to Settings > Domains.
- Add your chosen domain.
- SupporterBase will show you the DNS records you need to add in your domain's zone file.
Verifying your domain
- Once you've added the records, click "Check domain verification."
- If successful, you'll see a Verified badge for each required CNAME and MX record.
Enabling inbound replies
After verification succeeds:
- Click "Use this domain to process inbound replies."
- This ensures the reply-to address on outgoing emails uses the format:
inbox.[YOUR.DOMAIN] - To enable this, add an MX record at
inbox.[YOUR.DOMAIN]pointing to:mx.sendgrid.net - The confirmation dialogue that appears when you click the button provides extra details.
How inbound replies work
Default behaviour:
- SupporterBase uses a
supporterbase.comsubdomain for the reply-to address. - This works automatically, since we maintain the necessary MX record.
Custom domain behaviour:
- If you add the MX record at
inbox.[YOUR.DOMAIN]and enable the setting, the system will use a reply-to email at your domain instead. - Replies are then processed via SendGrid and displayed in your SupporterBase group's shared mailbox (visible to admins and leaders).
Summary
Quick setup checklist
- Add your domain in Settings > Domains.
- Add the provided CNAME + MX records in your DNS zone.
- Verify the domain.
- Enable inbound replies by setting up
inbox.[YOUR.DOMAIN]. - Once enabled, replies appear in the SupporterBase group's shared mailbox under your own domain.